|
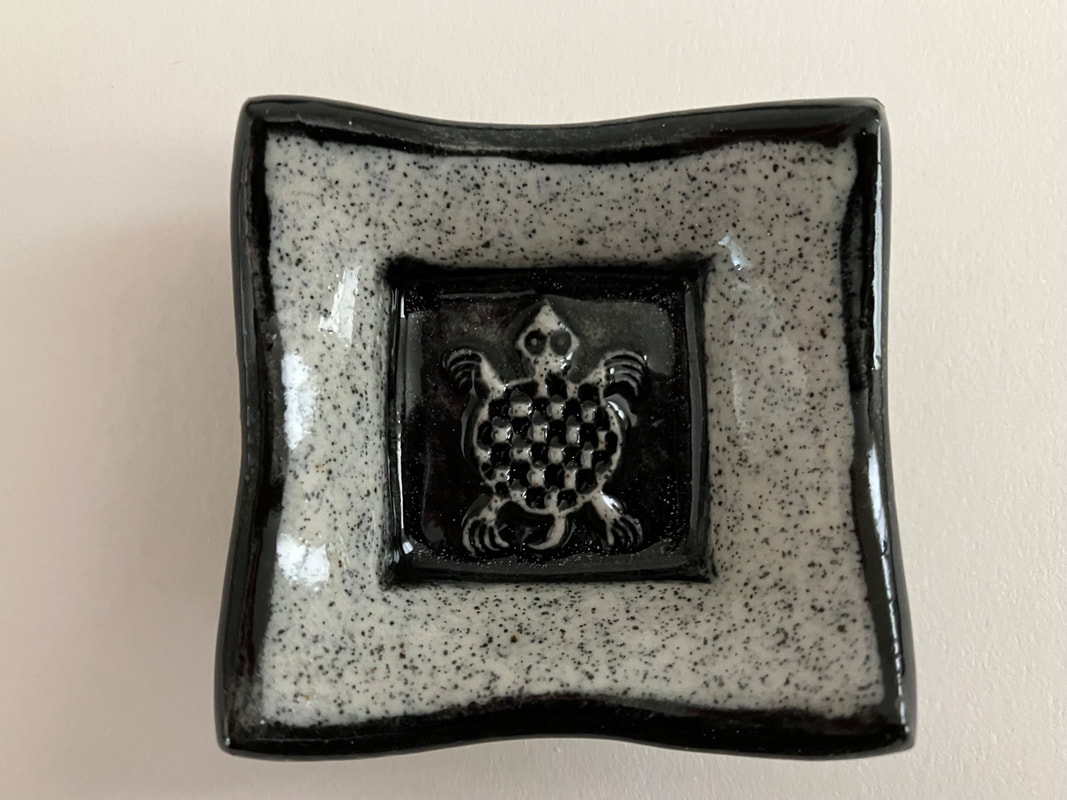
I tried out a new clay last year. It was free because it had dried out and would need to be reconstituted and worked with to be usable. I was intrigued by the bisque fired sample I saw, so I took it home. It took a lot of effort to bring it back to a usable state, so I'm not feeling "free" was such a good deal after all. The name of the clay is Dragon Fruit, I suppose named because of the heavy speckeled appearance. The black specks in the white clay body are quite striking. This is one of my first test tiles, with a stamped design, black underglaze and transparent glaze fired to cone 6. Unfortunately, the clay turned out not to be so good for throwing on the wheel, in part because it became "short" like shortbread, from being reconstituted from a hard brick and does not have much elasticity. It's fine for hand building though, and I look forward to making more things with it before it turns into a hard brick again.
0 Comments
The Pandemic brought life to a screeching halt for me, as I am sure it did with many of you. People deal with that sort of thing in different ways. While some artists I know went into overdrive during the Pandemic to keep busy, I pretty much stopped creating anything with ceramics. I feel that if I am unhappy, it will somehow show in my work, and I just didn't feel like making anything. There were no craft shows or fairs and it was not easy to get supplies for a while. I lost my motivation.
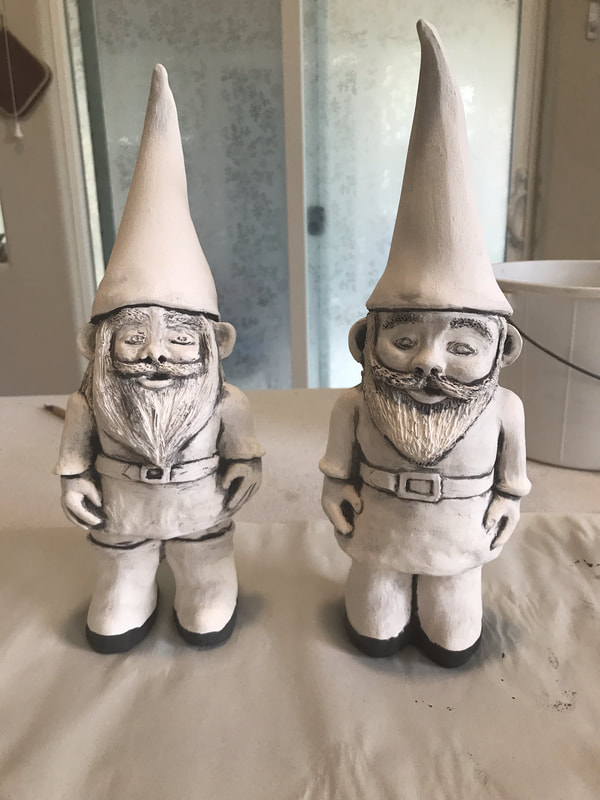
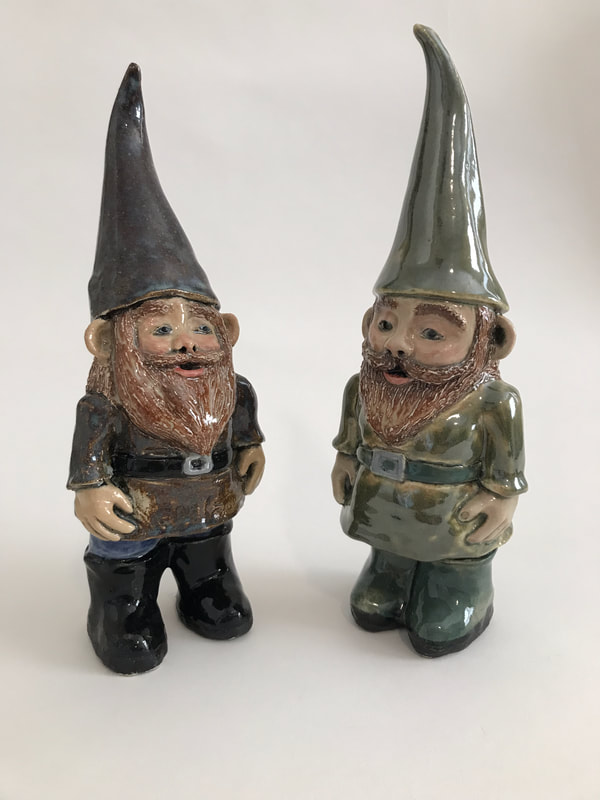
Well, I am getting back into the swing of things this year. It started with some clay I had that was getting a little too hard to throw on the wheel and a bit too groggy for my taste for wheel thrown items. It was early Spring 2021 and the desire to create something returned. I wanted to make a garden gnome, so I did. Then I made another. Then I just keep making things. The pending return of Spring after a long winter really motivated me. Maybe things were going to be back to normal this year. Well, they are not quite back to normal yet, but it's getting closer to normal. I named my gnomes after two of my ancestors from Italy; my Great Great grandfather, Giuseppe and his son, my Great grandfather, Vittorio. I thought about selling them, but I grew too attached. Giuseppe is on the left and Vittorio is on the right. They are approximately 12" tall, fired to Cone 6 in an electric kiln. Below is a photo gallery of how the 2nd gnome was made, which is pretty much how I make the first one. I started with two pinch pots joined together into a ball. I shaped it into a cylinder and opened it at the top. From there, I gave it a basic shape by pressing and pushing and eventually started adding and removing clay. Lastly, I added the hat. Hope you like the slideshow of the process. I became interested in art when I was about 9 or 10 years old. I remember watching a movie on T.V about Leonardo DeVinci and then a month or two later a movie about Michael Angelo. I felt an instant connection to these two artists and the impact they made upon the world. I wanted to be an artist as well. In 5th grade, one student's mother volunteered to teach us a class on art and we could chose what we wanted to learn; animals, people or landscapes. The popular vote was people and she showed us the basic principles of how to draw and face and get the proportions correct. I loved it!
In High School I took drawing and painting as electives and they were by far my favorite classes. I entered and won an art contest in my senior year of High School! Then, reality set in. It would be hard to make it as an artists and I really felt the need to get a decent paying job so I could move out of my parent's house and support myself. I just could not see myself as a starving artists. Too hard a life. The local community college offered several selections of vocational training programs. There was dental assisting, X-ray technician and Licensed Vocational Nursing. Several of my aunts were nurses and I was interested in medical stuff so I chose that path. I still continued drawing and painting throughout my life. Then 25 years ago, I took my first ceramics class. I loved everything about it. I could literally make just about anything I could image. Now, I have been retired from nursing for over 2 years. I always dreamed that making and selling ceramics would be my second profession, but it is still a hobby. A hobby I love. If I can sell a few pieces that means I have room and get to make more! Thankfully, people seem to like the things I make and that makes me very happy. Now, I don't think of myself as a retired nurse as much. Now I think of myself as a ceramic artist. I feel so blessed. Thank you God. Just before we moved from Richmond CA last October, a local ceramic supply store, Clay People, was offering up to 5 free slip casting molds to their customers. Not being able to resist free stuff, I had to check it out. It seems a local business was looking to off load them before they could sell the building they were in. There were thousands of them! Some were so huge and heavy, I could not even lift half of it. Seeing as we were in the thick of packing to move, the last thing I wanted to do was aquire more heavy stuff to move. I decided I could only take smaller molds. This is better anyway, as once they are filled with wet liquid clay they get even heavier!
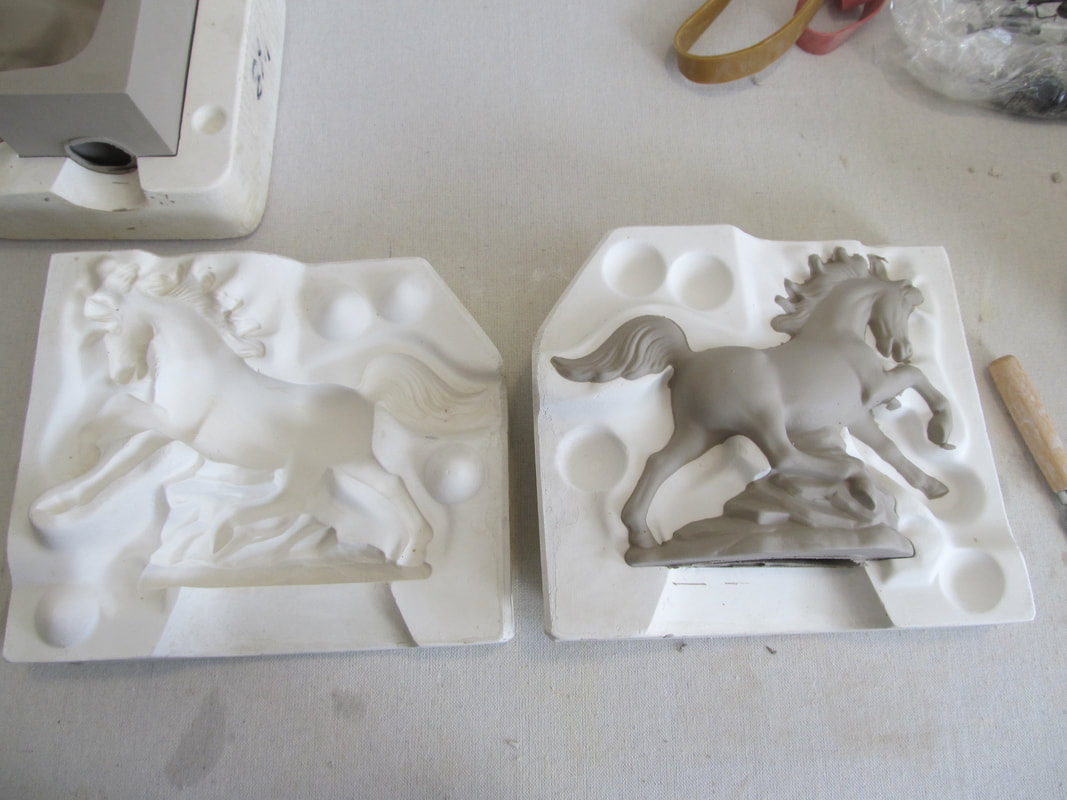
I lucked upon this stallion mold, as well as a horse head bookend, a bird, a bunny, and a rat. With all the wild horses near by, I thought this was perfect. I was also able to give away a few plaster molds that I know longer wanted. It was a win/win. Now some artists might think that using commercial molds it sort of cheating. I don't like to mix them in at sales and someitmes people seem a bit disappointed when I tell them it's from a commercial mold. I have made several plaster molds myself over the years of various vegetables, like squash, or other items. I utilize them a lot in my studio. I don't feel bad about using those at all. However, I still like utilizing the commercial molds. I like the idea that I don't have to make it from scratch but there is still a lot of time and effort that goes into making slip cast pieces. In case you are wondering what the process looks like from almost the beging to the end, keep reading. Below is how the mold looks after the excess liquid slip is poured off and the form allowed to dry a day or so. Then you carefully separate the mold halves. I did very little ceramic work in 2017. Lot's of changes this past year and so little time to create in the ceramic studio. Above was my last glaze fire in Richmond, CA. In September we moved to Reno, NV. I am excited to be setting up my new studio and looking forward to making more art in the future. More to come.......
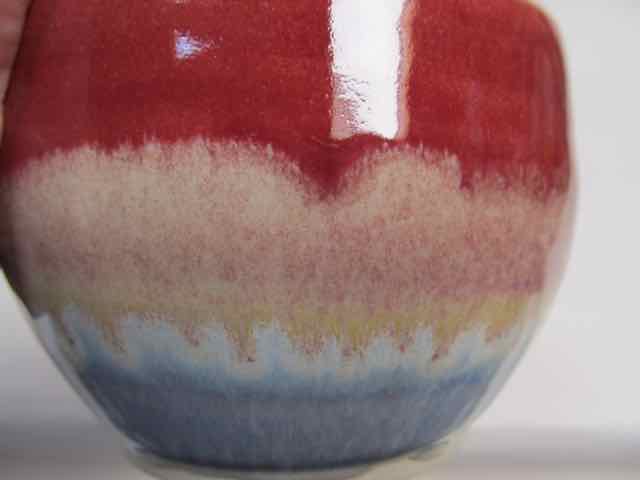
This is my new favorite glaze combo. It is the combination of red/pink/purple/mauve glaze and Pearl White glaze, two different glaze recipes I found a few years back. I have used this combo before but only with the white on top of a cup all covered with red glaze. I don't remember it being quite this pretty. This combo is slightly differently applied. First, the bowl inside was glazed with the red and then the top outer rim. Then the bottom was dipped into the Pearl White with about a one inch overlap over the red. Both glazes can be runny when thick and thankfully, it did not run onto the kiln shelf. I must say, I love the variety of colors produced here. You will be seeing more of this combo in future work.
I often think I should be spending more time making art. I always feel better for it and wonder why don't I spend more time in my studio. We'll today I'm going in. No excuses. It's not too hot or cold, the garden is mostly planted and done, and housework can always wait. I feel I need to creat for the health of my own mind and soul. If someone else gets pleasure out of it, that is so much the better.
We need art in our lives, whether it is music, dance, fine art, or nature in it's glorious splendor. So, no more internet searches today, no more e-mail, no more anyathing but getting my but out into the studio where the smell of the clay soothes my soul. More later......... 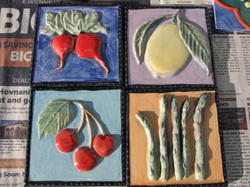 I am occasionally tempted by low fire bisque ware at the local ceramics supply store here in Richmond, CA. A sale of 10 cents each for bisque tiles is hard for me to ignore. I don't do a lot of this type of ceramics and it's mainly for me. These pieces are colored with underglazes and finished with a clear low fire glaze. 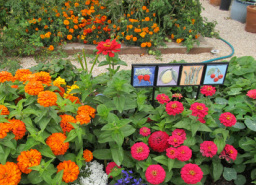 I eventually found a metal garden stake holder for the fruit and veggie tiles and put in in my garden. I think it turned out pretty nice! Of course, the metal holder cost more than a whole box of these tiles would have, but oh well. 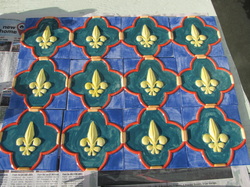 I also purchased these unglazed tiles for 10 cents a piece and colored them with underglazes and clear glaze. I am not sure what I am going to do with these yet. I have in mind a backsplash for a fountain or maybe a planter box. Just not sure yet. Sometimes it's fun not knowing how it's going to end up because the possibilities are fun to contemplate.  Greenware quilted clay and other little things Greenware quilted clay and other little things I found inspiration for some new pieces from an e-mail from Ceramic Arts Daily, called "Quilting with Clay". I LOVE playing with different textures and surface design. Just unloaded the kiln today with the first of the glazed ones. So fun. I love them. The ones in this photo are the last ones I made. I thinks I like the more puffy boarders best. More work, but looks more soft. Check out the glazed pieces on the "New Stuff page". Interested in making some of these yourself? Click here. 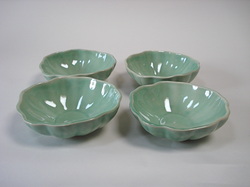 I have said in the past that I would post some glaze recipes, so I guess I'd better get on it. Seeing as it's St. Patrick's Day, I think I will share this green glaze recipe. This is for my fellow potter friends. This glaze I call "Chun Green". I got the base recipe from a book titled "The Ceramic Glaze Handbook" by Mark Burleson and added 2% copper carbonate. This is a cone 5-6 glaze, though it likely can go higher, as I found out by accident one day. (Another story) It is a very reliable glaze, does not run, and I use it a lot. Here is the recipe: Chun Clear cone 5-6 Oxidation 100 Grams Soda Feldspar (F4)...........................38.0 Whiting...................................................14.0 Zinc oxide..............................................12.0 Ball clay (OM4)....................................6.0 Silica.........................................................30.0 add Copper Carbonate................................2.0 Bentonite.................................................2.0 I add 2% Bentonite to keep it in suppension better. Otherwise it can settle into a hard mass at the bottom when not used for a while. You can add less Copper Carb for a lighter green or add other oxides or stains to your liking. I also use this base glaze as my clear glaze. I usually mix up 50 times the 100 gram batch. It makes a couple gallons, I think. When dry on the bisque it is quite powdery. Not very forgiving of over laps or touch ups. It usually shows. Gets darker where thicker. Works well over underglazes. Excellent on functional ware. Food safe. |
AuthorI am Rosemary McKean. I live in Reno, NV, having recently moved from Richmond CA. I have been making ceramic art since 1994. I fire mostly cone 6 electric and some RAKU now and then. I make functional ware, sculpture, and decorative pieces. I draw my inspirations from nature, the human form, and emotional expression in art. Archives
January 2024
Categories |





 RSS Feed